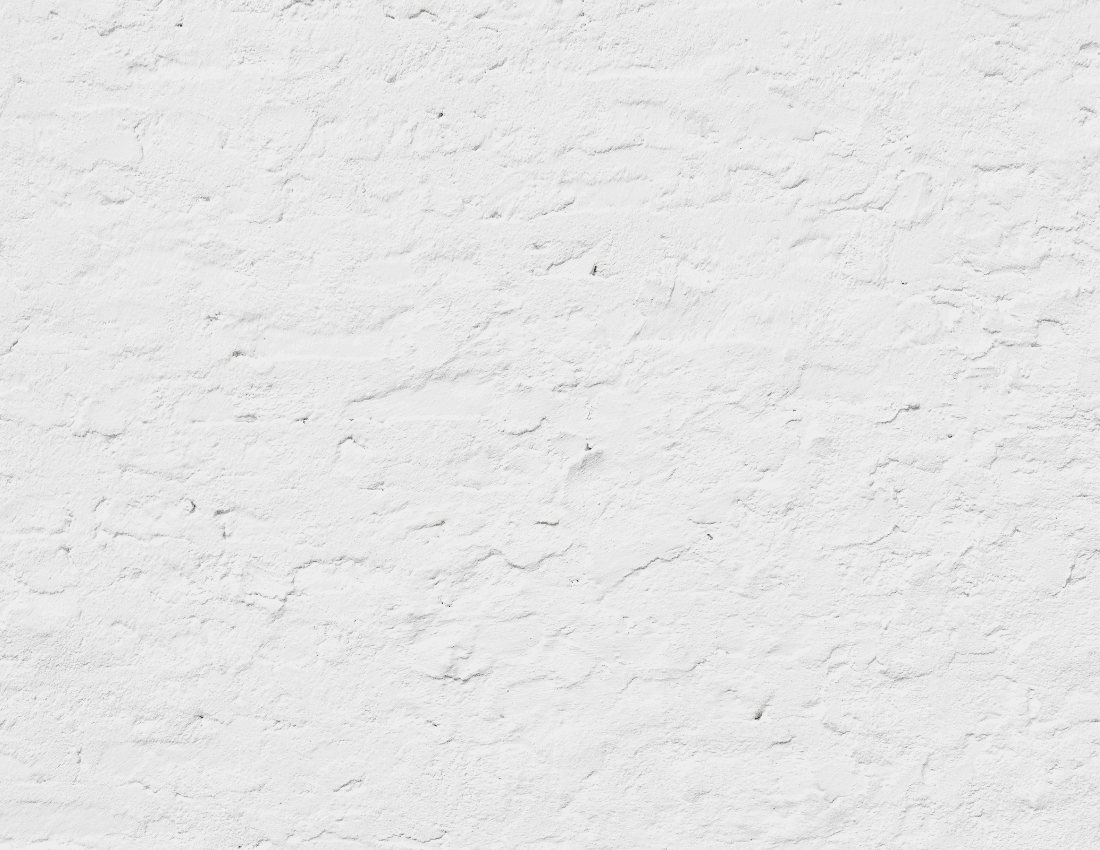
If you’ve ever stood in your living room wondering how to paint textured walls without making a complete mess of things, you’re not alone. Textured walls can be beautiful, especially in homes across Papillion, NE, where knockdown finishes and orange peel patterns are common. But when it’s time for a refresh, those textures can feel like a hassle.
A smooth wall takes paint easily. A textured one? Not so much.
The nooks and crannies soak up paint, hide drips, and challenge even experienced hands. That’s why professional painters often get called in to clean up jobs gone wrong. But with the right prep, tools, and technique, painting textured walls doesn’t have to feel like a losing battle.
Let’s break it down.

How to Paint Textured Walls
Before jumping into the steps, here’s the deal: painting a textured wall takes more time and materials than a flat surface. You’re working with ridges, dips, and maybe even old popcorn ceiling residue. Every step matters if you want the paint to stick evenly and look smooth.
Prep the Surface (Don’t Skip This)
Start with a clean surface. Textured walls collect dust like crazy, especially in corners and crevices.
What you need:
- Shop vacuum with brush attachment
- Clean paintbrush or sponge
- Mild soap and water (if the wall is greasy)
Use the vacuum first to lift off surface dust. Then wipe the wall with a damp sponge to remove anything left. If there’s mud, scuffs, or gunk, get rid of it now.
This also helps your primer do its job. Fixing poor prep is one of the biggest painting mistakes homeowners run into because it leads to uneven paint, peeling, and a finish that just doesn’t last.
Repair Dings, Cracks, and Holes
Textured walls hide small imperfections, but don’t assume they’ll disappear under fresh paint.
Use putty or joint compound to fill in nail holes or cracks. Skip the putty knife if possible and use your finger to press filler into crevices. It follows the wall texture better.
Once dry, lightly blot with a sponge. Avoid sanding—it flattens the texture.
Seal everything up with painter’s tape, including baseboards, light switches, and trim. Press the tape down firmly so it doesn’t leak. Some professional painters in Papillion, NE even use a tiny bead of caulk along tape edges to stop seepage.
Use the Right Primer for the Job
Priming textured walls isn’t optional. It helps latex or oil paints grip and provides better color coverage.
Use an interior primer suited for your wall material—drywall, stucco, or plaster. Pour it into a tray, grab a thick paint roller, and go.
- 1/2-inch nap for standard orange peel or light texture
- 3/4-inch nap for knockdown texture or heavy stucco
Don’t forget the corners. Use a brush for edges the roller can’t reach.
Quick tip: Not all walls need the same number of coats of primer. Darker paint or rougher textures usually require more.
Pick the Right Paint and Finish
This part makes or breaks the project. Pick a finish that looks good and wears well.
- Eggshell or satin hides imperfections but is still washable
- Avoid flat finishes—they’re hard to clean
- Go with latex paint for faster drying and easier cleanup
Choose a color that plays well with the room’s lighting. Lighter tones help smaller rooms feel open. Want help planning how much you need? Try our paint calculator.
Apply Paint Like a Pro
Now comes the part most people rush—and regret later. Take your time.
- Start with the roller. Work in small 4-by-4 foot sections. Roll vertically, then horizontally to fill every ridge. Reload the roller often, and don’t press too hard.
- Use the sprayer only if you’ve used it before. Textured walls need even coverage, not overspray.
- Switch to a 2-inch brush to paint near outlets, ceilings, and trim. Dab into deep divots if needed but avoid overloading.
- Roll while edges are still wet for a smoother look. This helps prevent lap marks that stand out on bumpy surfaces.
Don’t Forget the Ceiling and Corners
Ceilings get ignored during wall painting—but they shouldn’t. If your ceiling is textured (or a classic popcorn ceiling), treat it with the same prep and patience.
Use a roller with an extension pole to apply primer and paint overhead. Tape off the edge where the wall meets the ceiling for clean separation.
Corners can be tricky too. Use a short-handled paintbrush and work slowly to avoid splatter.
Clean Up and Inspect
While the paint is still wet, remove the tape slowly. This gives you crisper lines.
Check for spots you missed or any drips that need smoothing. Go back with a dry brush or sponge if needed. Don’t overwork drying areas or you’ll get streaks.
Let each coat dry fully before deciding if a second is needed. In textured walls, dry time can vary because paint pools in low areas.
Extra Tips for Painting Textured Walls
- Don’t press hard with the roller. Let the nap do the work.
- Skip sanding unless absolutely necessary.
- Always clean dust and cobwebs before you paint.
- Pick the right sheen. Too glossy highlights every bump. Use our paint sheen guide for help.
- Avoid foam rollers—they don’t reach the texture properly.
Get a Smoother Finish Without the Stress
Painting textured walls isn’t fast, but when done right, it brings new life to your space. With the right prep, materials, and approach, you get even coverage without the mess. Whether it’s a bathroom, kitchen, or your main living room, textured surfaces don’t have to be a pain.
If you’re unsure how to paint textured walls or don’t have time to deal with rollers, brushes, and sandpaper, hiring professional painters in Papillion, NE is the smartest way forward.
Here’s how Kieser's Painting makes it easy for homeowners in Papillion, NE:
- Thorough prep and surface cleaning
- Professional repairs using joint compound or filler
- Proper priming with high-quality products
- Accurate estimates using our paint calculator
- Clean application with minimal disruption
- Friendly crews that treat your home with respect
Call Kieser's Painting for painting services in Bellevue, Boys Town, Washington, NE and the surrounding areas, and get the textured wall refresh your home deserves.
Dial 402-866-8260 now for your FREE estimate.

